

Cleaning the Print Head
To ensure consistent print quality, the print head should be cleaned regularly. Dirt and residue from labels or thermal transfer ribbon can cause faded printouts, missing dots or vertical white lines. NOVEXX recommends cleaning the print head after every ribbon roll or label roll, depending on the printing method.
Cleaning the Print Head
1. Switch off the printer
Switch off the printer and open the front cover.
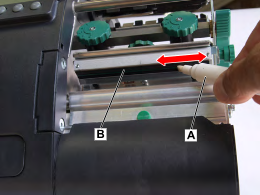
2. Open the print head
Open the print head pressure lever until the print head flips up.
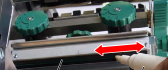
3. Remove labels and ribbon
Remove the label material and the thermal transfer ribbon from the printer.
4. Clean the print head
Using a cleaning pen, gently wipe the thermal strip several times with light pressure until it is clean.
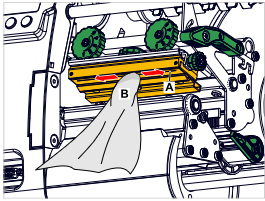
5. Allow the print head to dry
Allow the print head to dry for several minutes before continuing.
(No image required.)
6. Reinstall ribbon and labels
Reinstall the ribbon and label material, then close the print head.
(No image required.)
7. Print a test label
Print a test label and check the print quality.
Note
- Do not touch the thermal strip with your fingers.
- Only use approved cleaning materials.
- Clean the print head regularly to maintain optimum print quality.
Need Assistance?
If the print quality does not improve after cleaning, the print head or another printer component may require service.
→ Contact JR Drucksysteme Technical Support
Replacing the Printhead
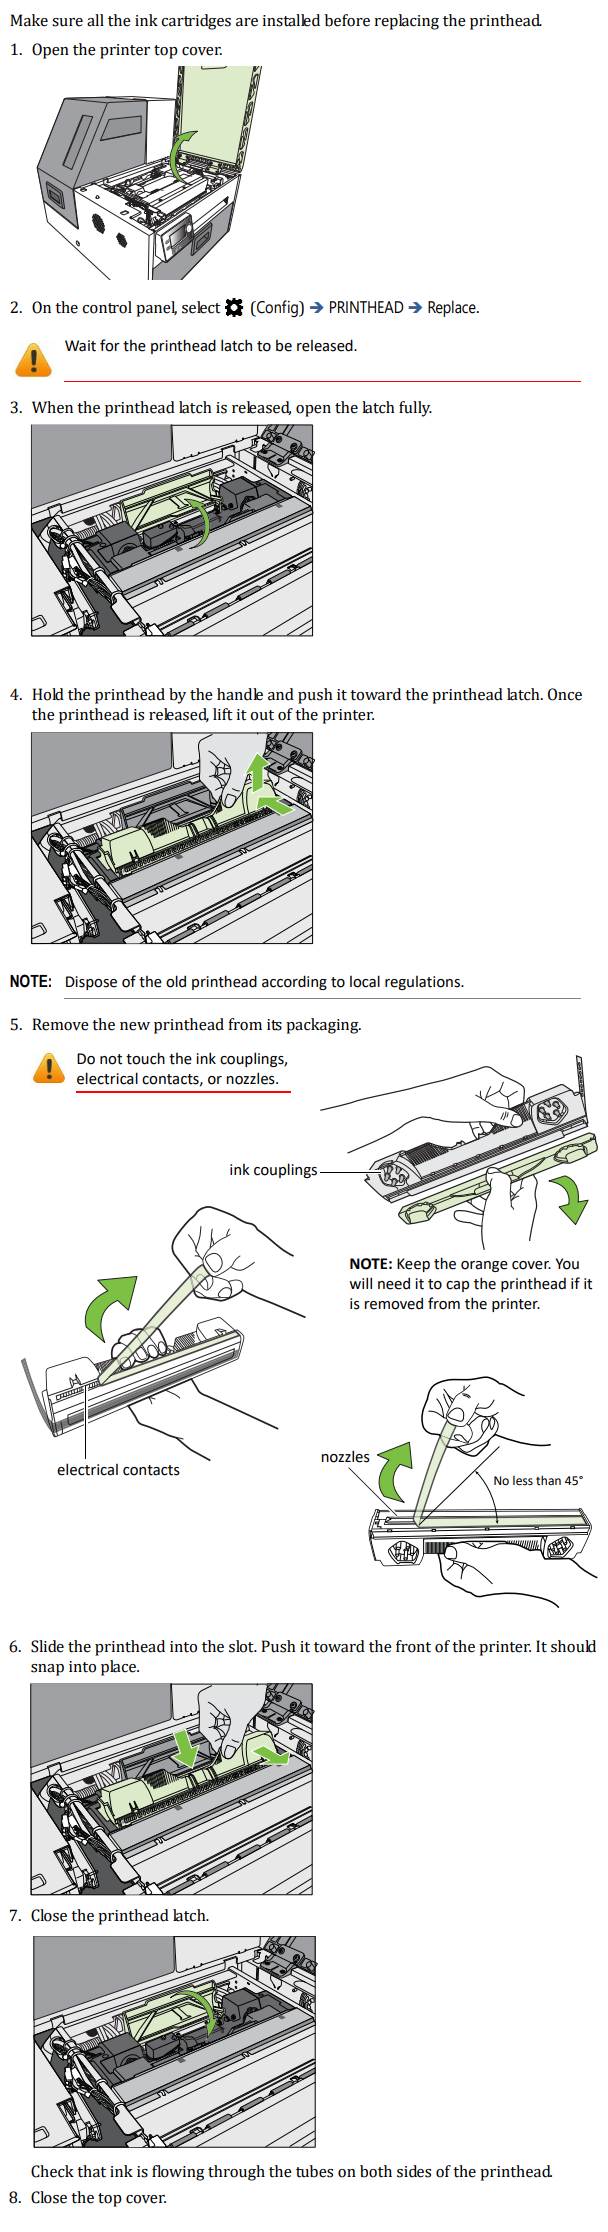
Preparing the printer for shipping
3. Turn off the printer.
4. Close the latch.
5. Please do not turn the printer back on. If the printer needs to be turned back on, ink will be pumped into the lines again. In that case, you will need to repeat the process before shipping.
6. The printer must be transported in an upright position during shipping. Therefore, ship the printer on a pallet via a freight carrier. Please ship in the original packaging if possible.